Tag: interior

Man cave build-up
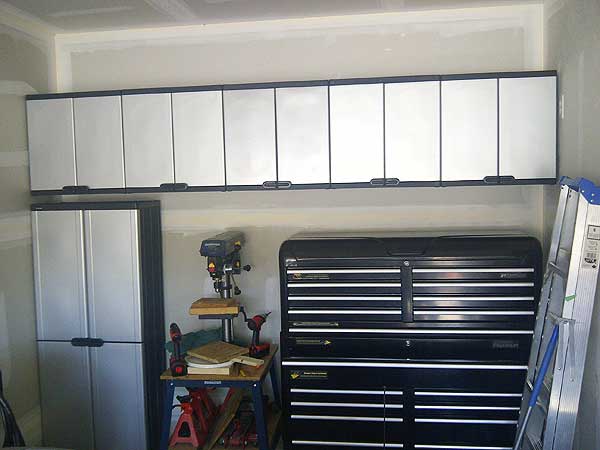
Man cave build-up. AKA, the garage. I will let the pictures do the talking…

Installing a LCD screen mount with no stud anchors
If you need to install an LCD screen in an area that doesn’t have studs accessible to anchor the mount(s), then this post should help you out. There are two windows (on each side) where the LCD mount needed to be installed. The mount being…

Fiero sub woofers
I finished the installation of the Fiero sub woofers, and powered up the SST radio for a test run. I still have a wiring mess to hide, …but it sounded great!

Prepping the SST radio harness
I finished mating the SST harness to the Fiero radio harness. I bought the Fiero radio harness off eBay for $5. It allows you to adapt any radio harness to the stock harness. It also allows quick disconnect/reconnect for servicing – all without cutting any…

Custom mouting plate for the SST
The new SST radio comes with a flush mounting kit. This allows the controller to be mounted “properly” in the dash – rather than using the standard bracket. In order to mount it in the Fiero, …like everything else, …fabrication needs to be done. I…

Fiero interior is pretty much DONE
I need to install the interior door panels, …and finish installing the sound system, …but aside from those two elements, the interior is done.

Fiero seats are installed
After 2 years, the seats are back in the Fiero. I can actually sit in the car now. In the pic I have a pair of old seat covers on them. I want to keep them protected for the remaining installations.

Fiero Ferrari euro shifter
I installed the Rodney Dickman Euro “Ferrari” shifter to the 4-speed shifter assembly.

Fiero custom dash is now installed!
Big day. After 7 months of hard work, the dash is finally back in. I still need to add the components – such as the extra gauges and the MP3 player. But it is satisfying to see this interior come together. FINALLY.

Fiero seat brackets
I have re-attached the Fiero seat brackets. They are ready to go back in the car after being out almost 3 years!! I also sandblasted the seat bolts – they were a bit too “rusty” for the new interior.

Rear speaker covers are installed
Since the original tabs were broken on the speaker covers, I came up with a new way of attaching them to the interior “A” pillar piece. Home Depot sells these nylon based nuts and bolts. With a black coat of paint, they fit right in.

Fiero carpet is installed
Installation of the carpet is complete. I also installed the back firewall cover.

Installation of the Fiero carpet
Today I began the installation of the Fiero Store carpet I purchased over 4.5 years ago. It’s over-sized, so I need to trim down the edges. Exciting!

Fiero under-padding for carpet
The Fiero Store carpet I purchased way back in 2007 came with instructions that said it should be installed over the existing carpet. I’m not a big fan of putting NEW over OLD. So in order to maintain the sound-proofing that the original carpet has,…

Fiero dash vent
I re-used the original grille for the front window vent on the PISA dash. I cut off all the mounting tabs, sandblasted the old paint off, then I put on a fresh coat of black paint to match the rest of the interior. An epoxy…

Fiero speaker covers
The original speaker grilles (both front and rear) were re-covered with speaker cloth. I used 3M spray adhesive to attach the cloth.

Fiero floor pan – final coat of paint
The final coat of rubberized paint was applied to the floor pan (driver and passenger) before carpet installation.

Fiero custom centre console
The upholstery on the centre console/armrest is now complete. The openings for the shifter and the window switches were created.

Fiero fiberglass headliner
I finished the upholstery on the headliner. The sunroof and overhead light outlets were covered by the headliner material from the upholstery shop. Due to the gap between the headliner and the sunroof, I used foam tape to fill in the seam.

Fiero upholstery touch-ups
When I received the interior pieces back, some of the holes I cut out were covered by the leatherette installation. I used a marker to outline the cuts, a box-cutter knife to slice the leatherette, and super glue to adhere. Super glue works best because…

Painting the interior pieces
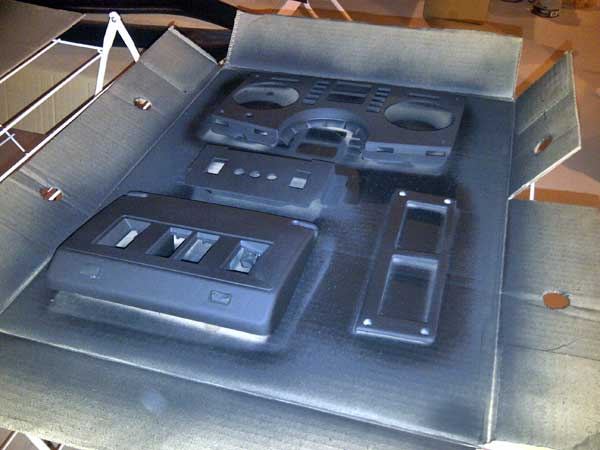
Painting, painting, and more painting. It is really amazing how many pieces you have to paint when you are changing the colour of the interior.

Fiero interior is ready for re-installation
All the components from the interior have been removed. I also began transferring over the sound proof padding material from the original pieces.


