Tag: installation

Solution for custom Fiero HVAC
I’ve decided against the installation the stock HVAC system – it was causing fitment issues with the PISA dash. So I’m going to run a custom venting system using vacuum tubing. More details to follow….
Repairing the stock stereo wiring harness
The original harness was cut for a custom stereo installation. I used a stock harness I pulled from a local yard to repair it back to OEM.

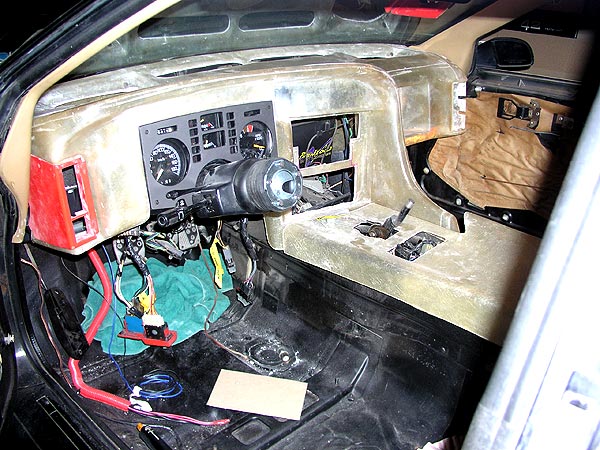
Fiero interior has been dismantled
I dismantled the custom interior pieces from the chassis. It involved almost 2 months of custom fabrication to install the new interior, and it took a mere 20 minutes to uninstall everything. A few more pieces need to be installed on the dash, …but the…
Fiberglass gap fix for the Fiero PISA dash
After the fiberglass cured, I pulled off the duct-tape and trimmed the edges. It will require a little more sanding and body-filler to finish, …but I’m quite pleased with how it turned out.
Fiero custom door panels are complete
The fabrication stage of the door panels is complete. All that is required now is upholstery and sound padding.
Custom Fiero door panels
Today I installed the driver’s side PISA door panel. It took about 2 hours and was quite easy. The only problem is that the interior armrest covers the HVAC vent on the dash. I will need to make a custom cut to the armrest –…
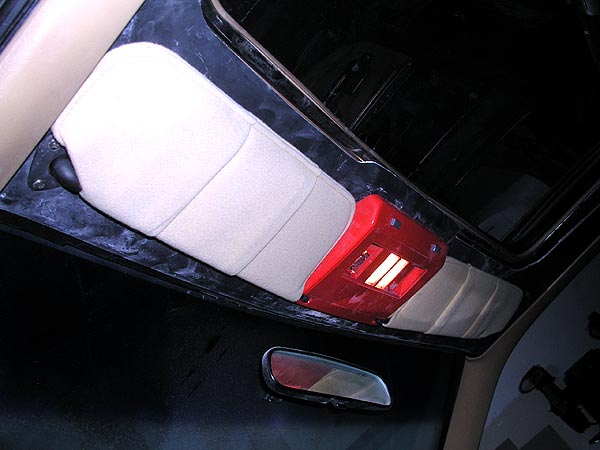
Fiberglass headliner
This was one of the easier installs I have done over the past year – no fabrication was required. This is the Fiero Store fiberglass headliner. I acquired this almost 4 years ago and it’s been sitting in my basement waiting to be installed. All…
Adding support to the centre console
I spent the last three hours adding additional support for the fiberglass center console – a.k.a. the armrest. It involved fabricating a metal bracket and a fiberglass ledge. I also mounted the shifter boot – this boot is just used as a mock-up. I have…
Fiero dash – added lower steering column cover
Adding the steering column cover was pretty straight forward. I needed to trim the edges off, and drill two holes at the top to hold it in place. Other than that, the stock mounting locations were used.
Progress on the Fiero dash – AUX gauges
Today I added the auxiliary (AUX) gauges to the dash – voltmeter and oil pressure gauges. I re-used the old plastic housing piece because it gave a mounting fixture for the gauges. It involved a little cutting because the pig-tail wire that plugs into the…
Fiero middle armrest console
Today I finished installing the middle armrest console – it involved a little bit of trimming. Unfortunately it has a rather large gap on the passenger side – i’ll need to get creative to solve that. I also started mounting the switches. I did not…
Fiero dash mounting brackets are done
Today I finished mounting the dash to the chassis – driver and passenger sides. With the driver’s side, I re-used the old Fiero dash bracket to mount the hood release. On the passenger side I also re-used the old Fiero bracket – I created rubber…
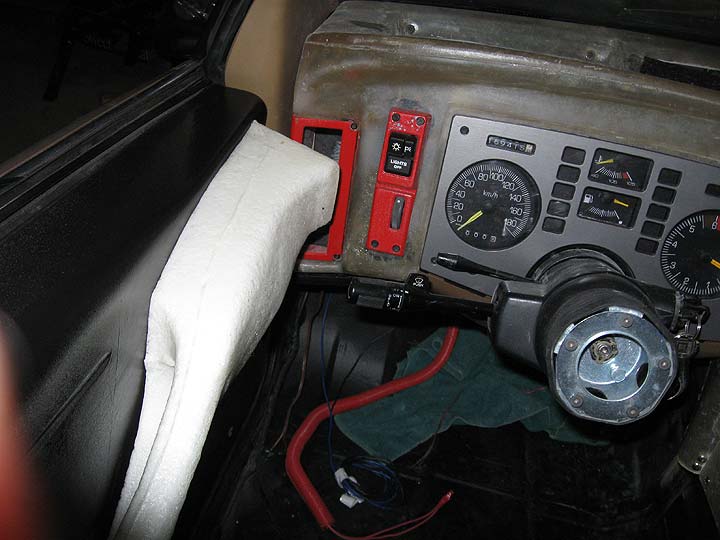
Fiero PISA dash – installation of the instrument cluster
In order to successfully mount the main Fiero instrument cluster, I needed to drop the steering column. Once it was disconnected, I could properly mount the gauges. Note that the original location for the “hidden” cluster mount actually maintains alignment – but it’s “underneath” the…
Fiero dash is partially installed
The PISA dash is partially installed. I have drilled and mounted the upper points – near the speakers. The HVAC ducting is not in place yet. Once I get the dash roughed in, I will pull it out and install the ducts. Sorry for the…